Based on the lab equipment list Malaysia and their prices, it turns out that you can’t really afford much of them, and because you badly want to run a lab experiment on your own, you feel down in the dumps. But just because you can’t afford lab equipment, it doesn’t mean that you can’t do any scientific experiment at all.
There are a lot of experiments you can run using your household items and cheap equipment. Googling down will bring up so many that you can try. One of them is the classic volcano experiment, which will be covered here. It is especially popular among children due to its easy difficulty and materials.
Materials
You decided, “Screw it. I will run a volcano experiment just for kicks.” If you say so, as long as you have the required materials.
You will first need a container to make and eject the mixture like bubbling lava. Containers can range from jars and tall bottles to unused milk bottles and even something like a measuring cylinder if you want to build a taller volcano. You will also need clay or make your own dough to sculpt a volcano around the container.
For the dough, you need three cups of flour, a cup of salt, a cup of water and two tablespoons of oil.
The next materials are what you need to create lava. This consists of vinegar, baking soda, dish washing soap, and food coloring. Usually, the vinegar is the final ingredient and serves as your volcano’s trigger to erupt its lava.
Now onwards to building your volcano.
Rock Formation
If you have some clay, you can start building your volcano right away. Around the bottle, just mold it into shape until it achieves the desired form. You don’t have to make a perfect cone, as volcanoes aren’t really so in real life. Make the body lumpy if you want to so you can see lava flowing over them.
You can also form a foundation with your clay, press the container onto the center, and build the walls up from there.
If you do not have clay and you couldn’t get one, dough is a good alternative. Measure the flour, water, salt, and oil as listed in the “Materials” section, then mix them all in a bowl. When the dough becomes stiff after mixing, you can start kneading with your hands until you can make it to a ball.
If the dough is too sticky, add a bit of flour, perhaps two teaspoons. If it is not sticky enough, a tablespoon of water will do.
Leave your dough to dry, and then paint your volcano. Brown and black are good dark colors to contrast with your lava’s, but you can also paint a bit of red, orange or yellow so it looks like it has lava in it.
Mixing Your Lava
Once your volcano is complete, you are now in the stage of mixing your lava. Just be mindful that you will NOT use the vinegar at all until the eruption stage.
Put two spoonfuls of baking soda, but first check if the inside of the volcano is dry, otherwise the baking soda will be fizzed by the moisture before you want it to. Then add or squirt one spoonful of dishwasher to make your lava more foamy.
Next, to colorize your lava like the real thing, add a few drops of red and yellow food coloring. You can also use an orange food coloring and nothing more if you have one at home. At this point, the eruption is ready. All the volcano needs is the trigger.
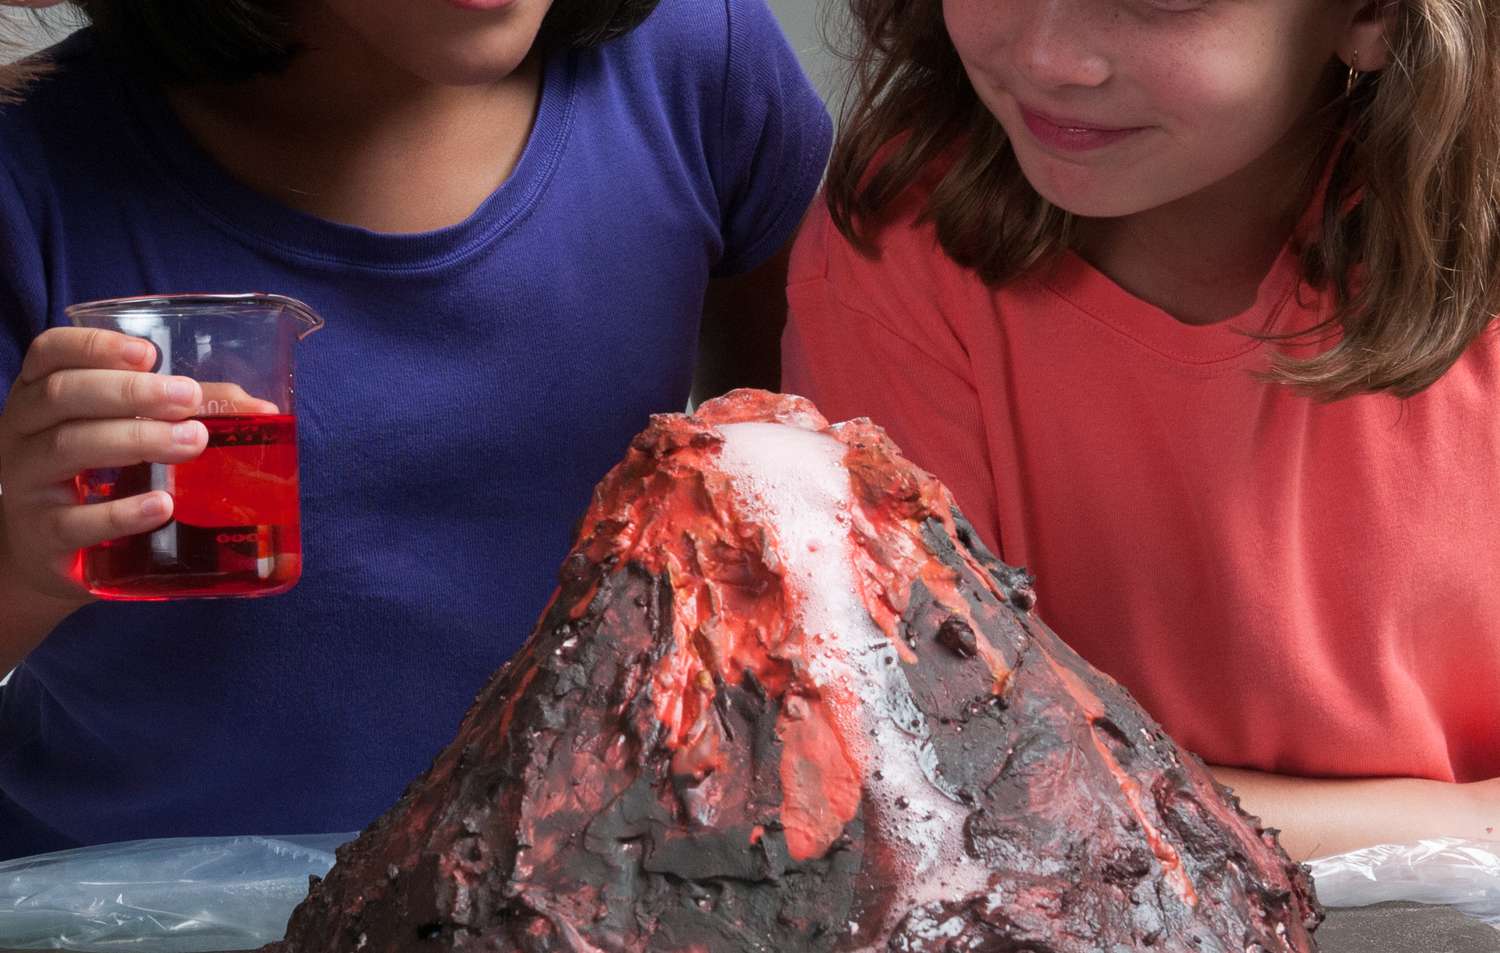
Eruption

This is where your vinegar comes into play. Pour about 30 ml of the liquid or so into the container and quickly step back as your volcano finally erupts foamy, molten lava, which immediately flows down the rocks.” Congratulations, you succeeded in making and erupting your homemade volcano.
As long as there is still some baking soda left at the bottom of the container, you can pour some more vinegar and continue erupting lava until there is little to none left.